First Step
To make changes to your personal answering machine, you must call up the UC portal (opens in new tab). If you are not yet logged in to the Single Sign On (SSO) of TU Darmstadt, you will first be prompted to log in with your TU ID and the corresponding password.
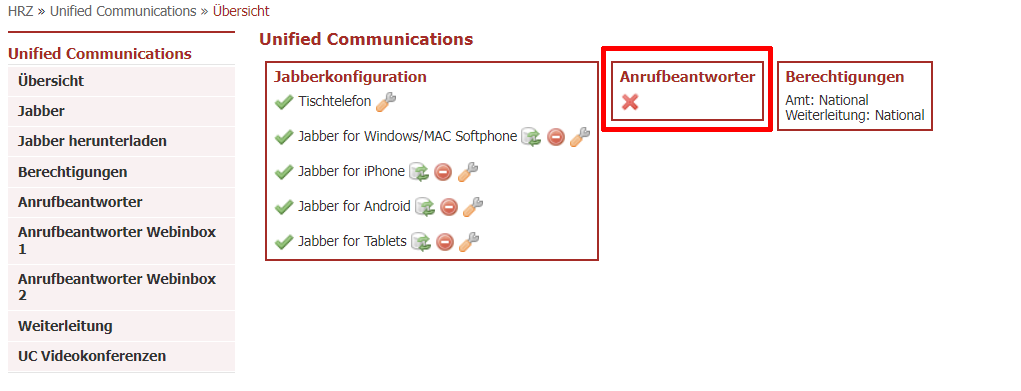
On the start page of the UC portal, you can see in the “Voicemail” (=Anrufbeantworter) window whether your voicemail has already been set up. If there is a red cross, your voicemail has not yet been set up (see Fig. 2).
Voicemail – Setup
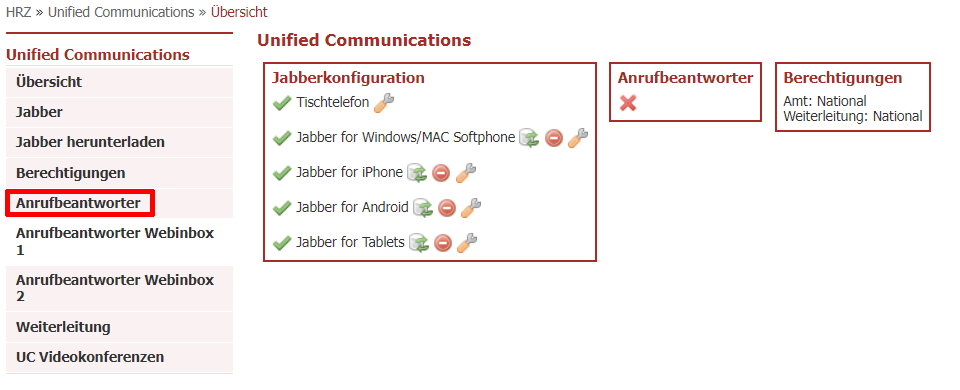
- Click on the menu item “Voicemail” on the left.
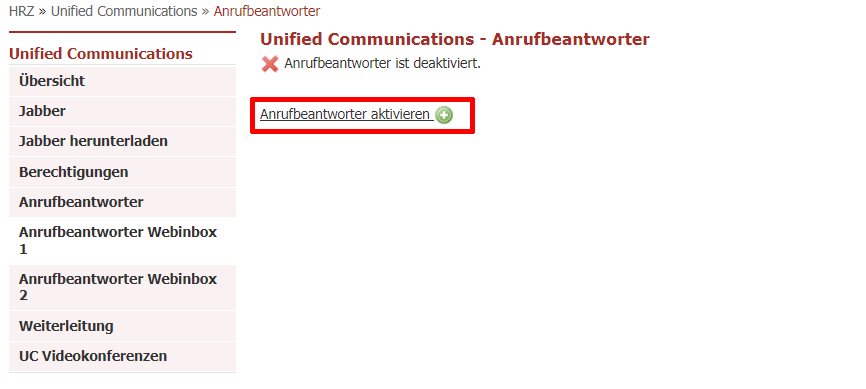
- Click on “Activate Voicemail + ”.
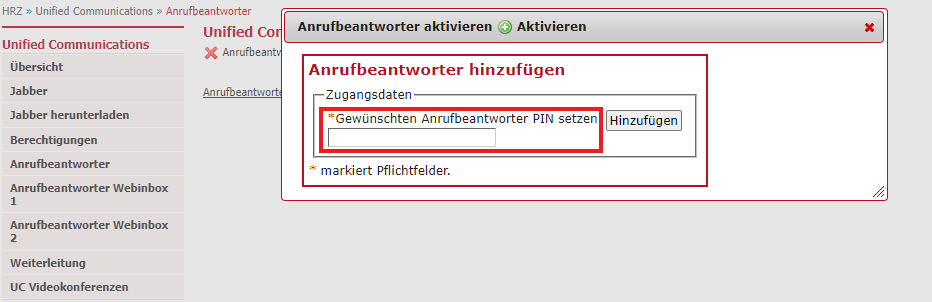
- Enter any 6-digit PIN (only digits) and confirm the entry with “Add”.
If everything has succeeded, you will see the message “Voicemail is activated”.

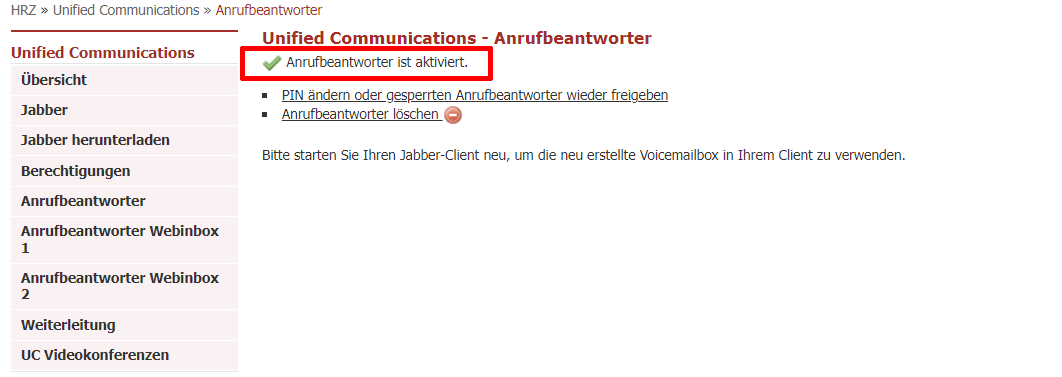
Please restart your Jabber client so that the newly configured voice mailbox can be used.