The Cisco Meeting Server offers the possibility of having conferences with video, just like telephony with a desk phone. It is automatically activated when a video call is made with more than two participants.
Independent of the use with Jabber and the operating system you use, the meeting server can also be used directly via a web interface (web browser).
Any person with a TU ID can use the Cisco Meeting Server. There is no upper limit for the number of participants in the individual virtual meeting rooms, but meetings with more than 30 participants are not recommended.
- The servers for UC telephony and meetings are located at the TU Darmstadt and are also administered there. No data leaves the area of the TU Darmstadt. It is therefore not a cloud solution.
- Each user set up on the server has a personal room. It can be reached via Jabber under <TU-ID>.space@conf.hrz.tu-darmstadt.de or the telephone number +49615116 – <own extension>.
Log in – First steps
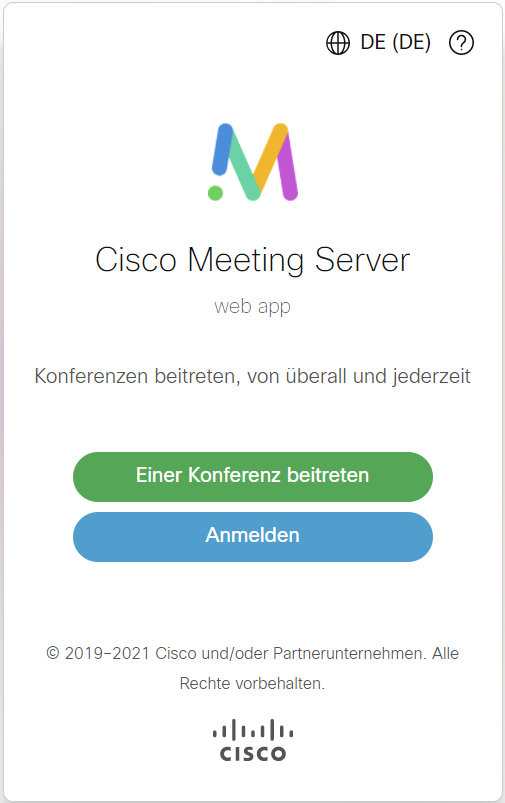
- Go to the Cisco Meeting Server website (opens in new tab) using a web browser of your choice to access the Meeting Server application (web app).
- You are now on the Cisco Meeting Server login page. There you can log in with your TU ID or anonymously join an already existing conference.
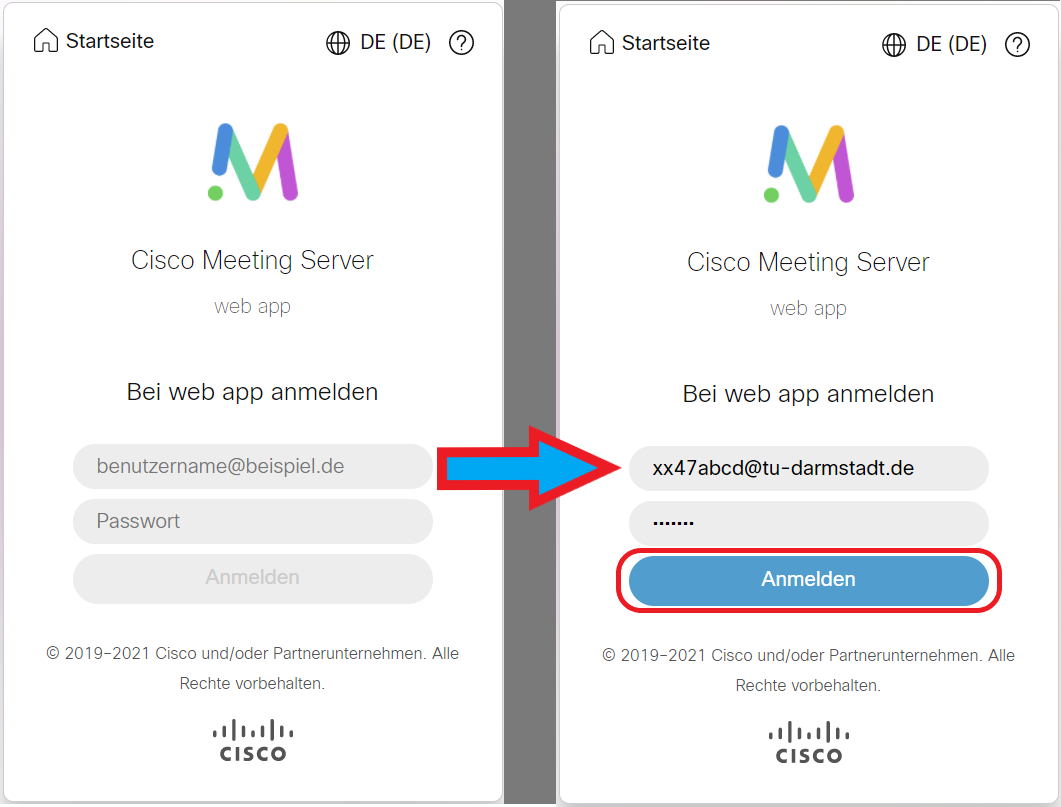
Log in with a TU-ID
To log in, enter your TU-ID in the “Username” field as follows:
<TU-ID>@tu-darmstadt.de (e.g. xx47abcd@tu-darmstadt.de).
Then enter the corresponding password and click “Anmelden” (Login) to confirm your entry.
Set up conferences
To be able to schedule a conference with Cisco Meeting Server, you must be logged in to the web app with your TU ID.
- Select „Konferenz planen“ (Schedule a conference)“ on the start page of the app.
- Now set a name for the meeting.
In the ”Bereich“ (area) field: You can use existing rooms or create a new meeting room To create a new room, please use the ”default“ template.
What is an area?: An area is a virtual environment (e.g. virtual meeting room). Click on ”Nächste“ (Next) to continue. - Afterwards, a date, time and duration of the conference must be set. Click on ”Nächste“ (Next) to continue.
- In the last step you can set the roles for you as organiser and add participants to the conference. The participants can be selected by name, user name or e-mail address. Finally, confirm your entries with ”Erstellen" (Create).
- Finally, you will see an overview of all the conferences you have scheduled. By clicking on the respective conference, you can check the dial-in information and change it if necessary.
Please only send the guest invitation link. People who join the conference via a host invitation link automatically receive all the permissions of a host.

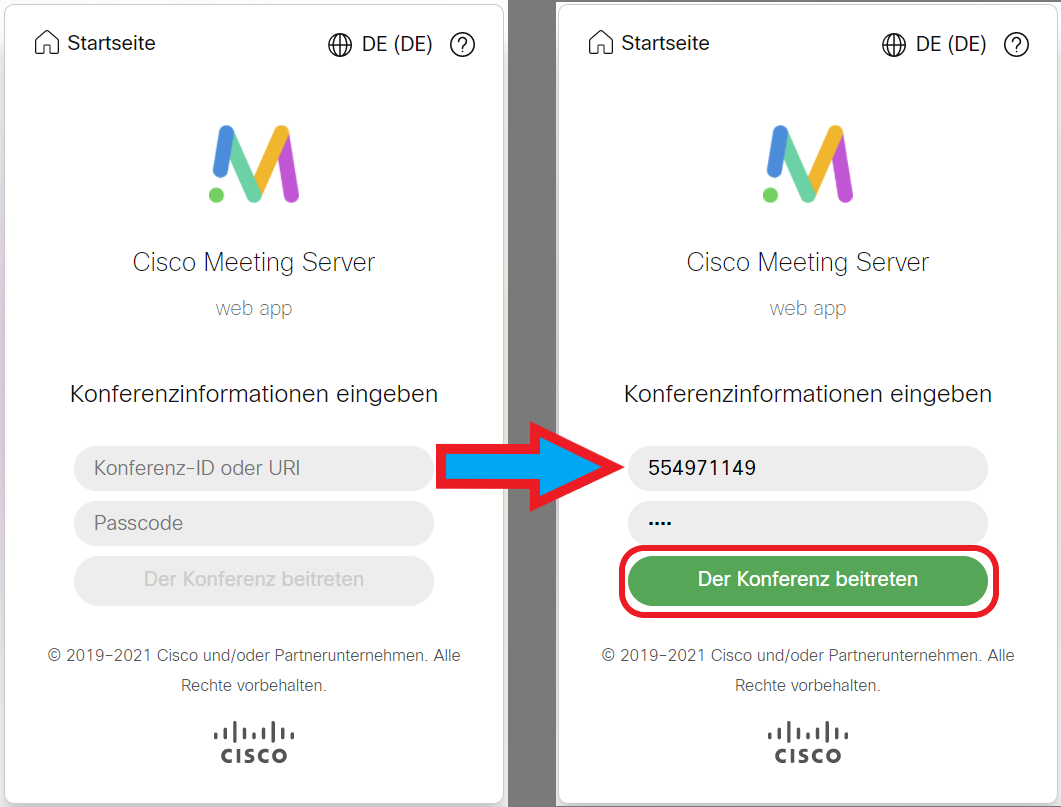
Log in as guest (without TU-ID)
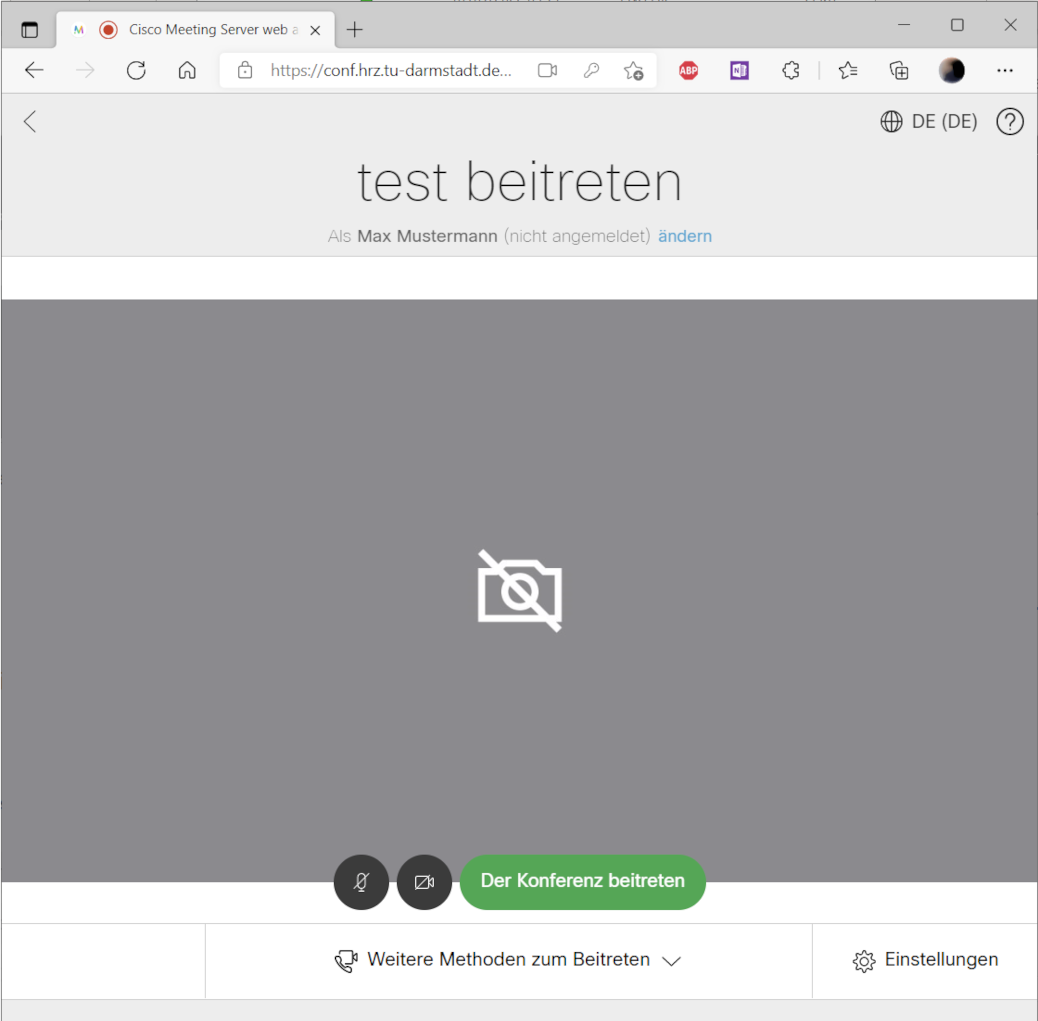
1. To join an existing conference without a TU ID, a conference ID and the corresponding passcode must be entered. After entering both components, confirm the entries by clicking “Der Konferenz beitreten” (Join the conference).
2. In the following, when you use the Cisco Meeting Server for the first time, you will be asked whether the web app is allowed to access your microphone and camera. Decide at your own discretion. In addition, a display name must be defined in order to join the conference. Enter a suitable display name and confirm with “Anzeigenamen festlegen” (Set display name).
If access to the camera and especially the microphone is not permitted, it can lead to a significant impairment of the application.
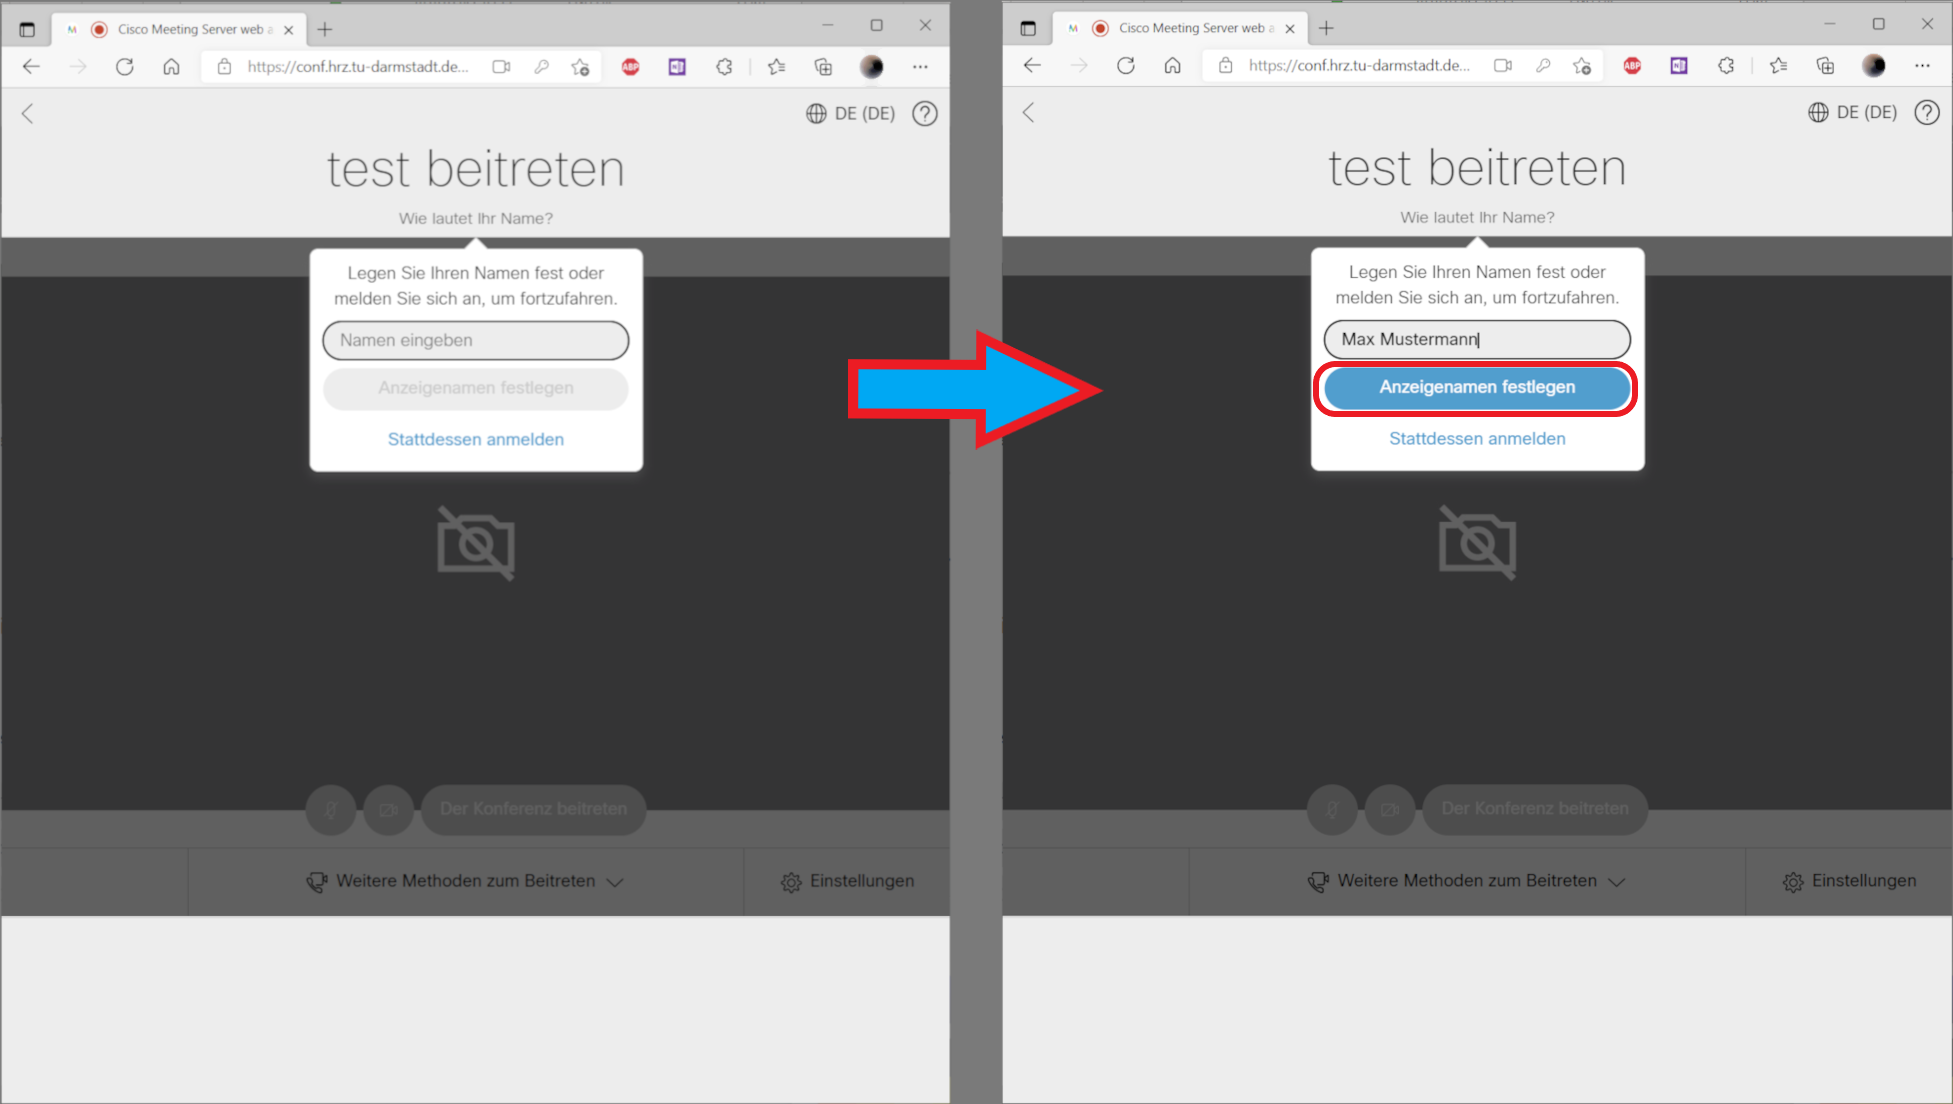
3. Now you can join the conference with the subject “test”.
If you have any questions or problems, please contact the HRZ-Service.