If your TU-ID has not yet been registered for the use of Jabber, please contact the HRZ-Service.
In order to use the Jabber client, the functionality must first be enabled. Simply downloading Cisco Jabber is not sufficient.
A distinction is made between two possible cases:
- You do not own a telephone or have one from Alcatel
In this case, you must contact the HRZ-Sevice (network access) with the request to activate Jabber. - You already have a Cisco telephone
In this case, you can activate the Jabber client yourself via the UC-Portal.
Download Jabber from the Apple App Store
- Open the App Store on your smartphone. There you have the option to search for apps. To do this, tap on the loupe in the lower right corner. A new window will open.
- Type “Jabber” in the search bar and then click on the “Search” button.
- Click on “Load” next. If you were not already logged in, then you will be asked for your Apple ID and password. Log in. After logging in, the download will start. When the round circle is completely filled in blue, the download is finished.
---
Once the app is installed, you may be asked for some permissions without having opened the app. Allow or disallow the permissions using “OK” and “Allow” or “Do not allow”.

Denying permissions can later lead to significant restrictions while using the app.
Installation
Once you have installed the app, you can open it from the App Store. To do this, tap the Cisco Jabber icon or open.
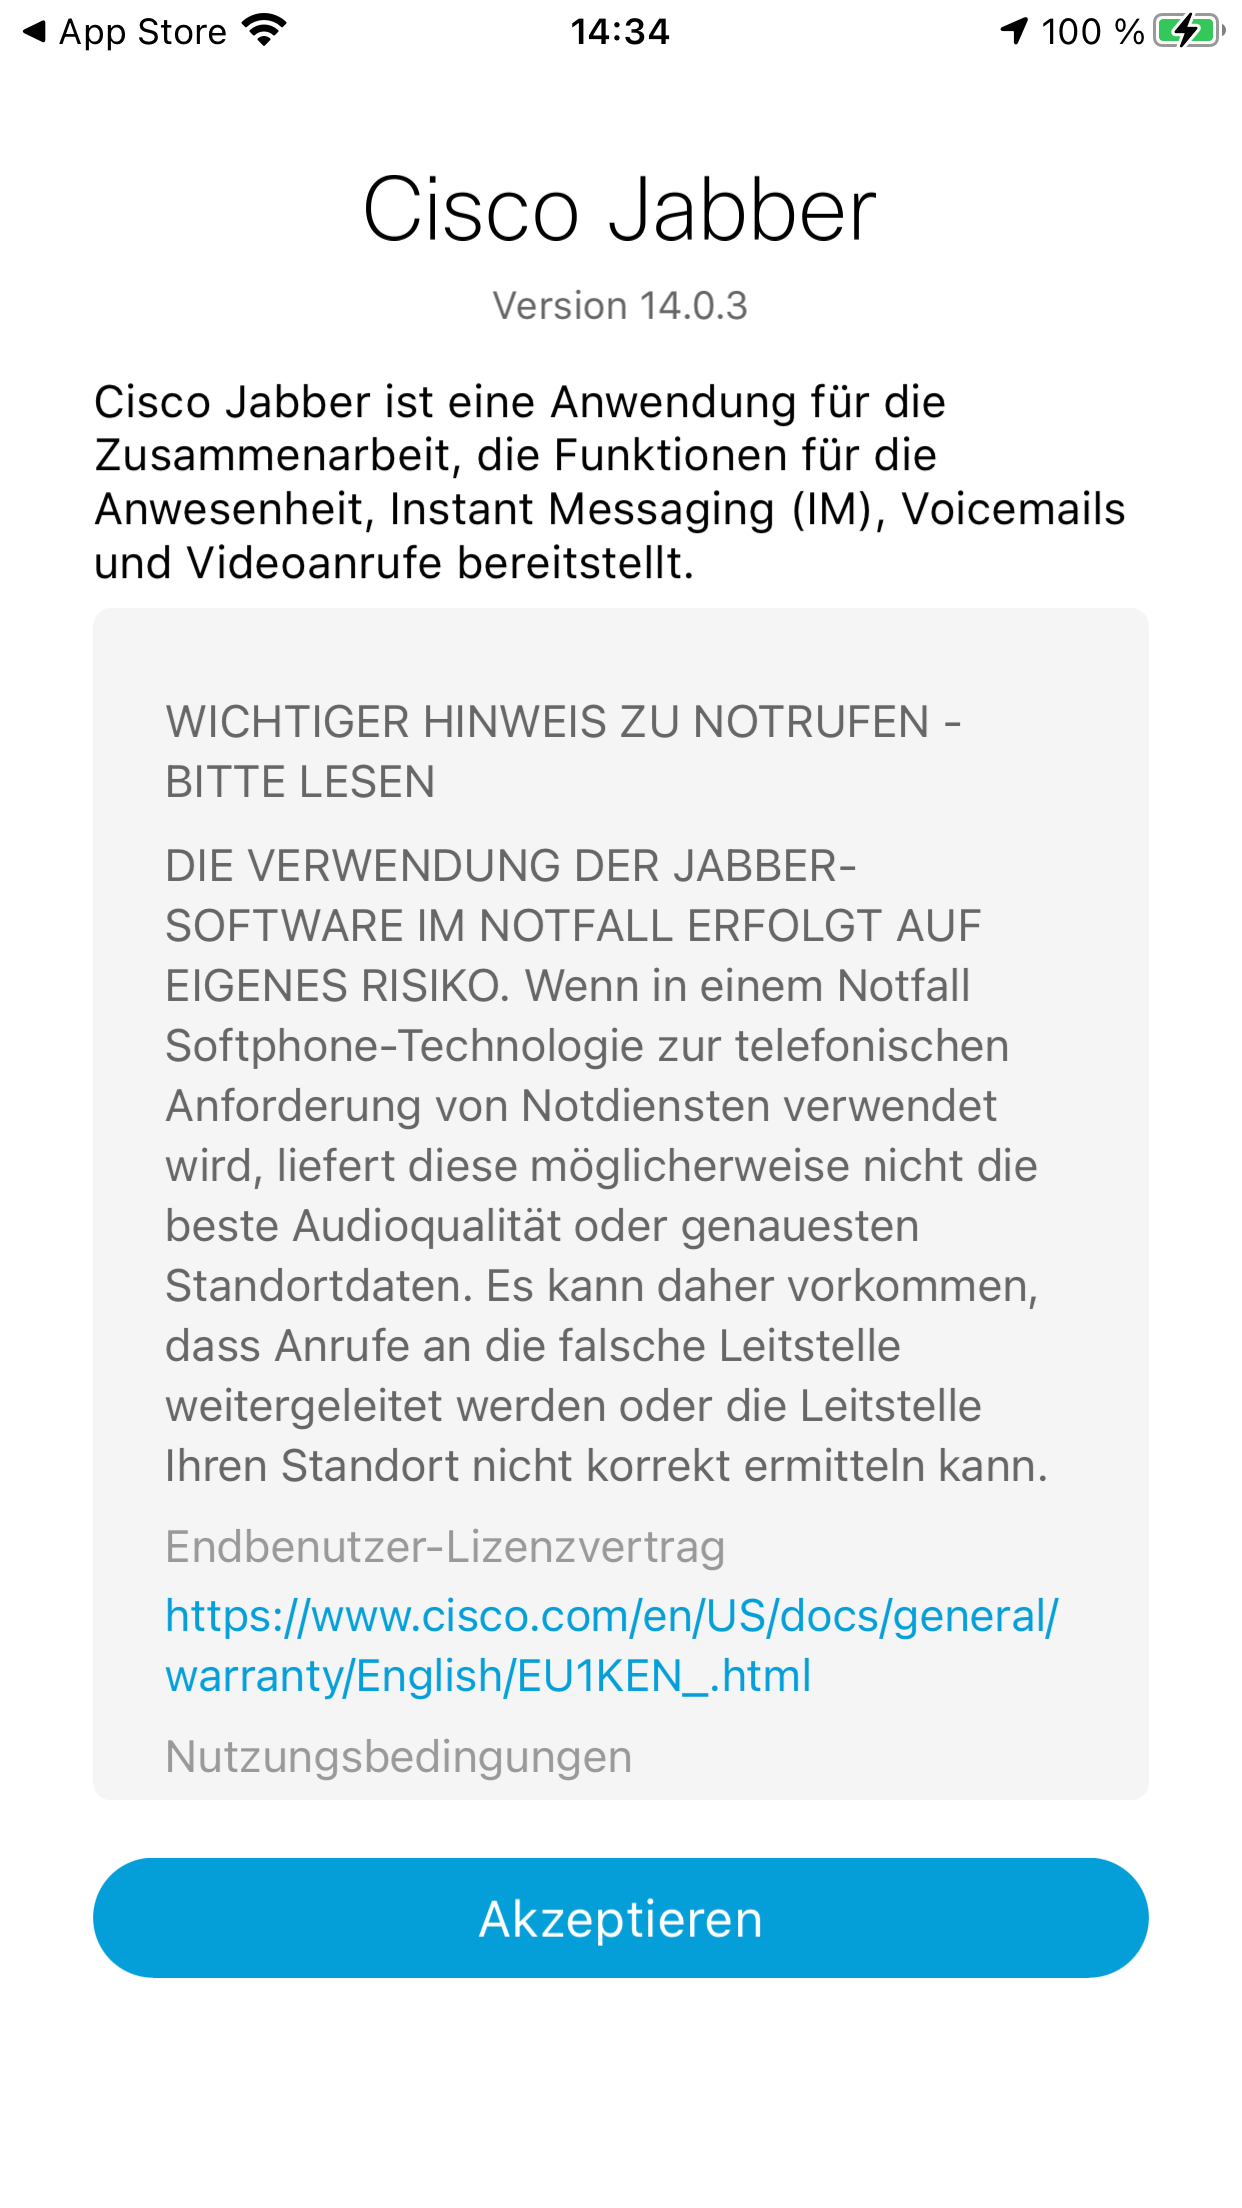
- The first time you start the app, you will see the license agreement. Please read this carefully. If you agree with all points, then confirm them by clicking “Accept”. Afterwards, you will be given a brief overview of the features and benefits Jabber offers you.
- Next, you will be asked if Cisco Jabber is allowed to use your microphone. Tap “OK” here to allow access or “Do not allow” to prohibit. If you do not allow access to the microphone, you cannot make calls with Jabber.
Login
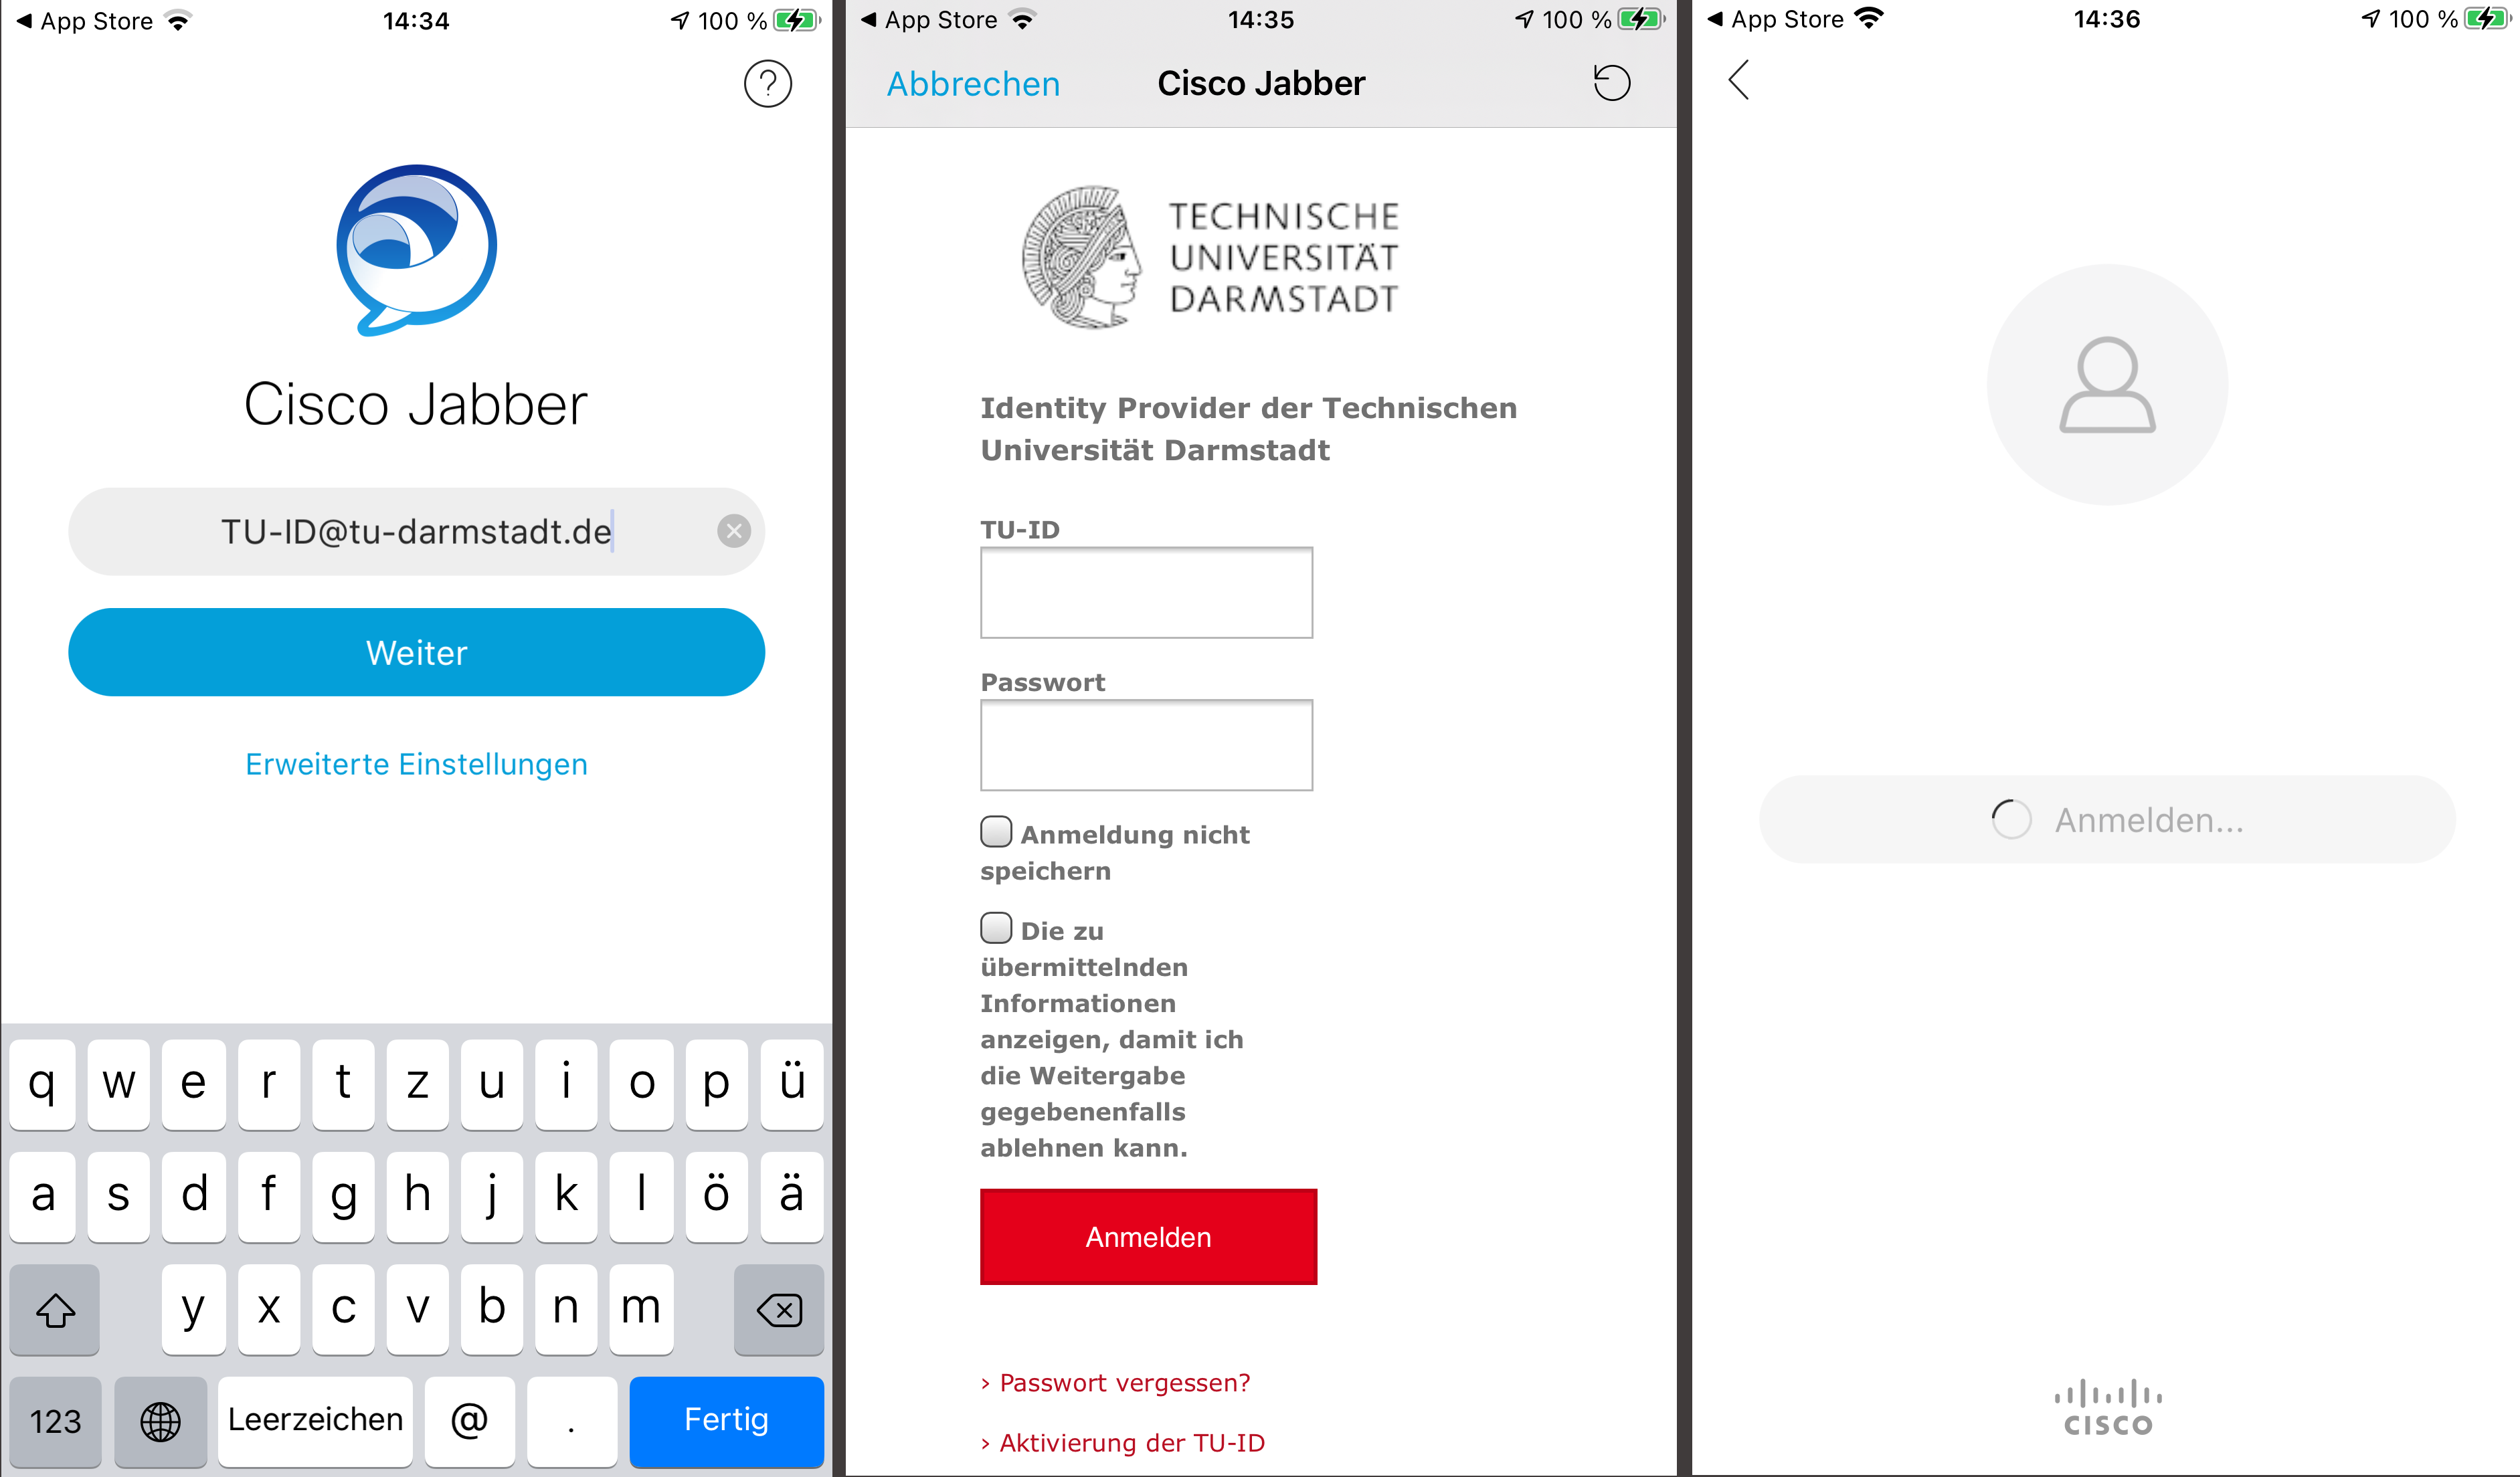
- You have now reached the login window of Jabber.
The login is a combination of your TU-ID (e.g. “ab34efgh”) and the TU domain (“@tu-darmstadt.de”).
Together your login would be: ab34efgh@tu-darmstadt.de - You are forwarded to the Single-Sign-On (SSO) page of the TU Darmstadt, where you can log in as usual with your TU-ID and the corresponding password.
- After successful login you will be automatically logged into Jabber with your TU data.
---
Depending on the iPhone or iPad generation, you will be asked whether you would like to authenticate yourself with your biometric features such as your face or a fingerprint when logging in.
The setup of the application is now complete.
For more help on how to use Jabber, see First steps or our other instructions .
If you have any questions or problems, please contact HRZ-Service .